Mobile phone screen replacements are the most common restore at iMend.com. In truth, our research indicates that 1 in four folks in the UK are strolling round with a smashed phone screen. Take a look at our Nationwide Research; 40% of Brits Strolling round with Broken Smartphones.
In 2015, an iPhone 6 screen replacement was truly the most common repair that the iMend team performed throughout all devices. aiwade.com")
A number of individuals will choose to buy a "Do It Yourself" equipment for their first iPhone 6 display substitute. Our Tech team at iMend strictly advise in opposition to trying to repair your individual cracked iPhone 6 display screen. This yr alone we've got seen 1000's of botched iPhone repairs which are a results of a DIY iPhone screen replacement; typically leading to better restore costs later down the road and in lots of instances a cellphone that is past economical repair. Let’s face it there are over 19 screws concerned in every single iPhone 6 display screen repair and each of those screws must be rigorously taken out, stored so as after which put back within the cellphone in the identical order they were taken out, no imply feat. Placing the mistaken screw in your iphone 8 plus touch screen kit (resunphone.com) can really end in a punctured motherboard and a machine beyond repair. Think about saying goodbye to a £500 phone for the sake of getting knowledgeable screen substitute.
An iPhone 6 display screen alternative should solely be attempted by an knowledgeable technician, who has the right equipment and knows their manner across the inside of the phone intimately. We have now due to this fact put together our Step by step Information to an iPhone 6 screen replacement to display how a lot care and a focus is required in getting your broken iPhone screen back to full working order.
Step 1. Guide your device in
Go to www.iMend.com to e book your iPhone 6 in for a Display Alternative. This may be booked in with our nationwide name out repair service, the place one in every of our technicians will exchange the screen at a location of your comfort in front of you, often similar day. Alternatively you possibly can ship it into our restore centre for a similar day restore, next day delivery. A display alternative with iMend.com includes a fully bonded unit made up of the Glass (digitizer), LCD and Touchscreen. To study extra about how your iPhone screen is made up and what things could possibly be incorrect along with your iPhone after dropping it on its display screen check out Broken iPhone Display - What Do I Do Next?
Step 2. Initial iPhone inspection
Our technicians inspect the device to establish the level of injury to the iPhone. This black cracked iPhone 6 has a excessive level of harm to the entrance display covering the front camera, proximity sensor and earpiece. Additionally they inspect the frame the place the display sits to see if there are any bends or dents that will have an impact on the iPhone 6 display substitute or prevent a new screen from sitting flush.
Step 3. Eradicating Backside Screws
Our tech rigorously removes the 2 backside pentalobe screws with a pentalobe screwdriver. These screws sit either aspect of the charging port. This loosens the display screen.
Step 4. Removing the Display
We fastidiously remove the damaged display screen with an iSlack. This can be a plastic cup suction system. You might also use a easy suction cup. It is necessary to use this device rather than prising the screen with a device as this eliminates damage internally and to the cellphone chassis. The technician then fastidiously prises the screen half way off with the suction cup and we take away the rest of the screen with an iSesamo device or a plastic tool.
Step 5. Eradicating the PCB Connector Plate
The display remains to be related under a connector masking plate. We initially must take away the 5 screws from the connector plate very fastidiously. These tiny screws should keep in order so when you place them again in the phone when assembling a brand new screen you do not insert the unsuitable screw as this could puncture the motherboard and write the telephone off.
Some technicians remove the battery connector so the motherboard has no energy. In case you are an skilled technician you'll be able to alternatively energy the device off and use a plastic tool to take away the PCB Connectors - not a steel device!
Step 6. Take away the four Connectors
We have now now eliminated the connector plate and will now use the plastic instrument to fastidiously take away the 4 connectors. These four connectors embrace, the LCD connector, Touchscreen connector, Proximity & Earpiece connector; and the home Button connector. These connectors require a gentle hand and nice precision as should you injury certainly one of the principle connections then you possibly can damage the phone. We now have now fully eliminated the damaged display screen.
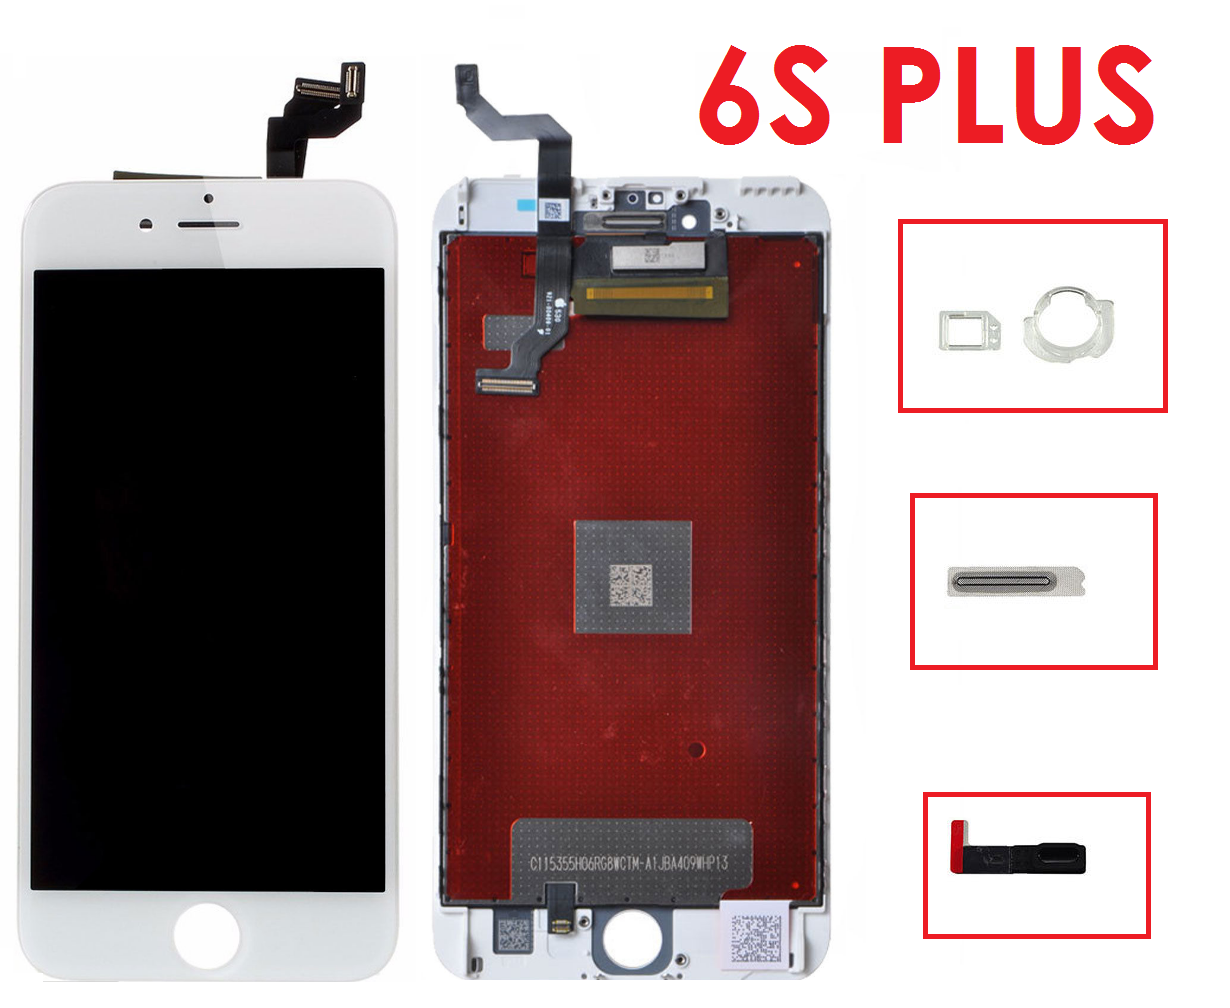
Step 7. Take away the Earpiece, Digicam, Proximity, Mild sensor and Microphone Flex Meeting
Now we have now taken the full broken display screen meeting off and can strip again the essential elements from the outdated display to be applied on the new display. The important parts that need transplanting from the old display screen to the new screen are all connected on flexes after which joined by connectors.
Initially we are going to take away the Earpiece Guard from the outdated display, which comprises three completely different screws. These ought to be carefully eliminated with tweezers. Once more all of these screws have to be in order so they don't return in the unsuitable way throughout the brand new screen meeting. Gently lift the entrance digital camera out of the method to remove the earpiece. proximity gentle sensor and the front digicam flexes.
These flexes are stuck down with viscous adhesive. In a restore centre setting this could quickly be eliminated by making use of heat. In a name out setting these flexes needs to be eliminated with very gentle manipulation. For those who aren’t cautious the proximity sensor can come off the flex. Next, take away the front facing microphone.
Step 8. Removing House Button
Take away the 2 screws that hold the house button assembly in place. The home button connects to a flex that runs all through the total length of the gadget. In case you slice into the flex the contact ID is not going to work. To avoid this use a plastic device to carefully disconnect it. We then use an iSesamo to take away the underside of the flex as that is stuck down with a viscous adhesive.
The technician now pushes the button gently along with his finger, avoiding the tiny fragments of glass. This gently prises the button out of the previous display.
Step 9. Take away the LCD Back plate
The final part that needs to be removed from the old shattered display is the LCD Back plate. There are actually 7 screws left in this that want carefully laying in order. The screws are removed with a Philips screwdriver.
Despite the fact that the entire screws have been eliminated the LCD plate continues to be connected with adhesive to the Contact ID Flex. This needs to be gently eliminated or the tech might destroy the Contact ID functionality. For clarity some screen assemblies come with a camera and proximity gasket pre-put in. In the event that they do you don't need to take these off the previous screen.
Step 10. Re-putting in the LCD Backplate on the new screen
The LCD backplate is now re-installed on the brand new screen carefully adding the 7 new screws back in.
Step 11. Re-installing Touch ID and Dwelling Button
The technician then fastidiously re-installs the Contact ID and the house button to the new screen together with the backplate. The home button is put again in and the technician assessments the texture of the house button.
Step 12. Transplanting the Earpiece, Digicam, Proximity, Mild sensor and Microphone Flex Assembly on the new Display screen
The technician now installs the proximity flex into the proper position using the plastic gaskets either from the broken screen or some new display screen include these pre installed (these are very important). This allows the tech to then line up the proximity sensor with the light sensor . Once the proximity sensor is related into the gasket it is going to hold itself into place for the earpiece flex then to be installed. This is finished by folding the front dealing with camera away from the display screen. The proximity sensors should line up with the earpiece connectors to perform accurately. There are 2 guide holes to be sure you get this appropriate. lelong.com.my")
Step 13. Line up 4 Connectors to the Display
We now line up the 4 connectors to the new screen. It's important to watch out here to not bend the connectors. For those who apply a lot stress this could damage the connectors and the screen.
Step 14. Display screen Take a look at
We are going to now flip the display screen on to test if it is working. We test this by dragging an app icon across the display. if there are any useless pixels or spots the app jumps back to its original place. This may present you a defective digitizer.
Step 15. Replacing the PCB Connector
We now put the PCB Connector plate again on. Our tech places the middle screw back in place to carry the plate on. The screws are then rigorously placed back within the order that they have been taken out. We're cautious not to over tighten the screws.
Step 17. Repair the brand new screen securely
The display is gently clipped back in with the placement clips and we re-insert the 2 Pentalobe screws into the phone next to the charging port. Bam we're done!
So there you've got it, a step-by-step guide to an expert iPhone 6 Display screen restore. You too can take a look at our iPhone 6 Display Repair Video.
As you may hopefully see there are quite a lot of intricate steps associated with a display screen repair that want expertise, precision and nice care. iMend.com have repaired tens of 1000's of iPhone screens and only use essentially the most experienced technicians and prime quality components with a 12 month warranty. An iPhone screen replacement can be executed by our professional Repair Centre and also by one of our 250 Nationwide mobile phone repair name out technicians.